If you’re looking to spruce up your kitchen and add a touch of elegance, why not consider transforming your space with easy island light DIYs? These simple projects can instantly elevate the look and feel of your kitchen, creating a warm and inviting atmosphere. From modern pendant lights to rustic chandeliers, there’s a wide range of options to suit any style. With just a few materials and some creativity, you can easily create a stunning centerpiece for your kitchen island that will leave your guests in awe. So, grab your tools and get ready to embark on a delightful DIY journey that will transform your kitchen into a place you’ll love spending time in. Let’s dive into the world of easy island light projects and discover how you can brighten up your kitchen in no time.
1. Pendant Lights
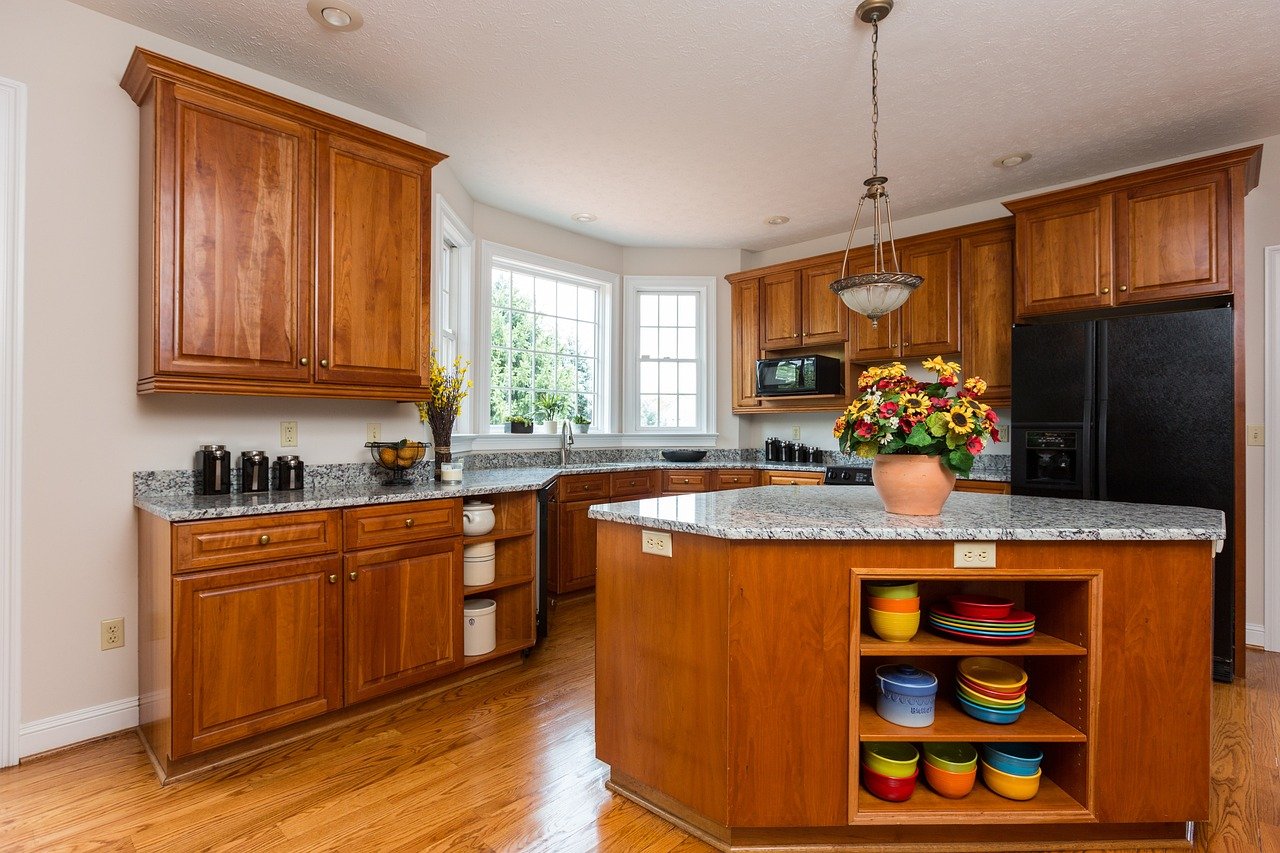
Are you looking to add a touch of style and sophistication to your kitchen island? Consider installing pendant lights! Pendant lights are a popular choice for kitchen islands because they not only provide functional lighting but also serve as a beautiful design element. When choosing pendant lights for your kitchen island, it’s important to consider the right style and size. You want your pendant lights to complement the overall aesthetic of your kitchen and fit well proportionally above your island.
Choose the Right Style and Size
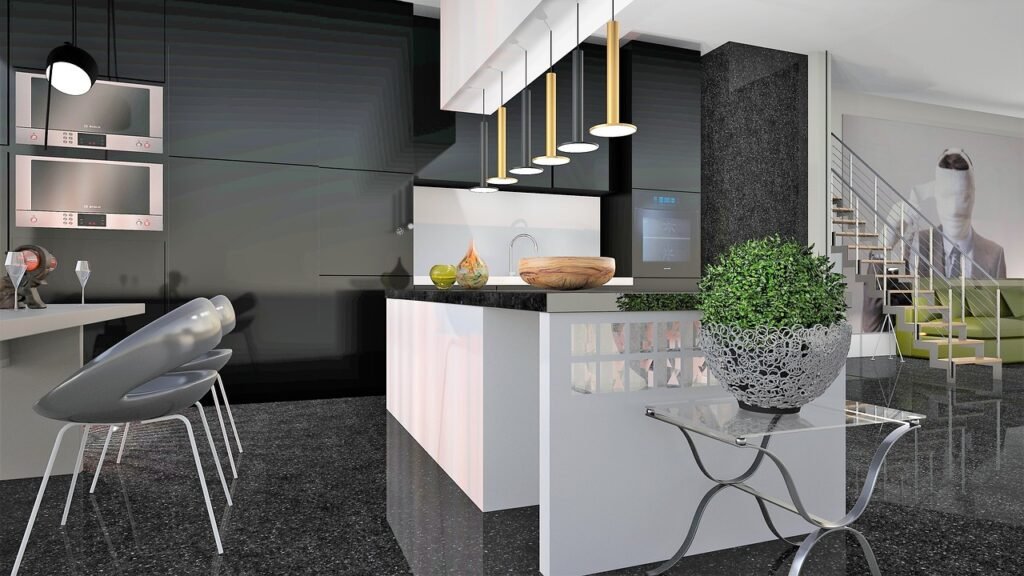
When selecting pendant lights, take into account the existing style of your kitchen. Do you have a sleek and modern kitchen or a rustic farmhouse-style design? There are pendant lights available in a wide range of styles, from contemporary to industrial to traditional. Choose a style that aligns with your kitchen’s overall theme. Additionally, consider the size of your island and the space available above it. You want to choose pendant lights that are proportionate to the size of your island. If your island is large, you may opt for multiple pendant lights to achieve a balanced look.
Install Pendant Lights over the Island
Once you have chosen the perfect pendant lights for your kitchen island, it’s time to install them. Start by turning off the power to the existing light fixture above your island. Remove the old fixture carefully. Follow the manufacturer’s instructions for installing the new pendant lights. Typically, you will need to connect the wiring and secure the pendant lights to the ceiling using a mounting plate. Make sure to test the lights before securing them permanently.
Consider Adjustable Heights
One of the advantages of pendant lights is that they can be adjusted to different heights. Consider installing pendant lights with adjustable cords or chains. This way, you can easily change the height of the lights depending on your preferences or specific tasks. For example, you may want to lower the pendant lights for intimate dining or raise them higher when you need more light for cooking and food preparation.
2. Mason Jar Lights
If you’re looking for a charming and unique lighting option for your kitchen island, mason jar lights are a fantastic choice. With just a few materials and tools, you can create these rustic and whimsical lights that will surely add character to your kitchen.
Gather Materials and Tools
To make mason jar lights, you’ll need mason jars (regular or wide-mouth), pendant light kits, and a few basic tools. The pendant light kits typically include the socket, cord, and ceiling canopy, but be sure to double-check that you have all the necessary components. You’ll also need a screwdriver, wire cutters/strippers, and electrical tape.
Prepare the Mason Jars
The first step in creating mason jar lights is to prepare the jars. Make sure they are clean and free of any labels or residue. You may choose to paint or stain the jars if desired to match your kitchen’s color scheme. Allow the paint or stain to dry completely before moving on to the next step.
Attach the Light Fixture
After prepping the mason jars, it’s time to attach the light fixture. Carefully follow the instructions provided with the pendant light kit. Typically, you will need to assemble the socket and cord through the jar lid, securing it with the accompanying hardware. Be sure to thread the cord through the jar lid before attaching the socket. Once everything is properly secured, attach the ceiling canopy and connect the pendant light to the electrical wiring in your ceiling according to safety guidelines.

This image is property of pixabay.com.
3. Rope Lights
For a versatile and ambient lighting option that adds a touch of elegance to your kitchen island, rope lights are a great choice. These flexible lights can be easily shaped and installed to enhance the aesthetic appeal of your kitchen.
Select the Rope Light Type
Before beginning the installation process, choose the type of rope light that suits your needs. LED rope lights are energy-efficient and long-lasting, making them a popular choice. Determine the length of rope light needed to fit around your kitchen island by measuring the perimeter. Additionally, consider the color temperature of the rope light to ensure it complements your kitchen’s lighting and decor.
Plan the Installation
Planning the rope light installation is crucial to achieve a polished look. Determine where you want to place the rope lights around your kitchen island. Common options include along the bottom edge or underneath the countertop overhang. Use adhesive clips or mounting brackets to secure the rope lights in place, ensuring they are evenly spaced and centered along the island.
Secure the Rope Lights
With your plan in place, it’s time to install the rope lights. Start by cleaning the surface where the rope lights will be attached to ensure good adhesion. Apply adhesive clips or mounting brackets at regular intervals along the planned route. Carefully and securely attach the rope lights to the clips or brackets. Plug the rope light into an electrical outlet and test to ensure it is working properly before securing the electrical connections out of sight.
4. Wine Bottle Lights
If you’re a wine enthusiast or simply love the idea of repurposing items, wine bottle lights are a creative and eco-friendly option to illuminate your kitchen island.
Clean and Prepare the Wine Bottles
To start this DIY project, gather empty wine bottles and thoroughly clean them. Remove any labels or residual adhesive using warm soapy water or a label remover. Make sure the bottles are completely dry before proceeding. You may also choose to enhance the appearance of the bottles by painting them or adding decorative elements such as ribbons or twine.
Insert the Light Bulb
Once the wine bottles are ready, it’s time to insert the light bulb. You can purchase wine bottle light adapters that fit into the bottle’s opening and hold the bulb securely in place. Choose LED bulbs for energy efficiency. Gently insert the bulb into the adapter, ensuring it is properly aligned and screwed in snugly.
Add Finishing Touches
To add a finishing touch to your wine bottle lights, consider embellishing them with decorative elements. Wrap copper wire or fairy lights around the bottle to create a warm and inviting glow. You can also attach beads, charms, or other ornaments to the bottles to personalize the look. Play around with different variations and arrangements to find the perfect design that suits your kitchen island.

This image is property of pixabay.com.
5. Chandelier Transformation
Transforming a traditional chandelier into a unique statement piece for your kitchen island is a project that can bring a touch of elegance and glamour to your space.
Choose a Chandelier Style
Start by selecting a chandelier style that complements your kitchen’s aesthetic. Consider the overall design, shape, and materials used in your kitchen. You might opt for a crystal chandelier for a luxurious and opulent look or a vintage-style chandelier for a charming and nostalgic ambiance. Make sure the size of the chandelier is suitable for your kitchen island.
Remove Shades and Clean the Fixture
To begin the transformation, carefully remove any shades or covers from the chandelier. This will expose the light bulbs and provide a blank canvas for your creative touches. Clean the fixture thoroughly, removing any dust or grime that may have accumulated over time. This step is essential to ensure that the new finish adheres properly to the chandelier.
Paint or Add Decorative Elements
Now comes the fun part! Consider painting the chandelier to match your kitchen’s color scheme or to create a striking contrast. Choose a high-quality paint suitable for the fixture’s material. Take your time and apply multiple coats for a flawless finish. Alternatively, you can add decorative elements such as beads, ribbons, or crystals to the chandelier to enhance its visual appeal. These embellishments can be attached using adhesive or tied around the arms and light bulbs.
6. Drum Shade Conversion
Giving your kitchen island light an instant upgrade and a sleeker look can be achieved by converting an existing island light into one with a drum shade.
Select a Drum Shade
Start by selecting a drum shade that complements your kitchen’s style and color palette. Drum shades come in a variety of materials such as fabric, metal, or even glass. Ensure that the size of the shade is appropriate for your island light fixture, taking into consideration the length, width, and height of both the shade and the fixture.
Remove the Existing Island Light
With your drum shade in hand, turn off the power to the existing island light fixture. Remove the old fixture carefully, following the manufacturer’s instructions or seeking professional help if needed. Take note of the wiring and connections to ensure a smooth removal process. Once the existing light is detached, safely cap off the exposed wires to prevent any accidents.
Attach the Drum Shade
Now it’s time to attach the drum shade to your island light. Begin by fitting the shade over the existing light fixture base or frame, securing it with the accompanying hardware. Make sure the shade is centered and level, adjusting as necessary. Gently attach the shade to the fixture, ensuring a secure fit. Finally, restore power to the light and enjoy the transformative effect of your new drum shade island light.

This image is property of pixabay.com.
7. Industrial Pipe Lights
For a trendy and industrial-inspired lighting solution, consider creating your own industrial pipe lights for your kitchen island. These unique fixtures will add a modern touch and create a focal point in your kitchen.
Gather the Necessary Supplies
Before starting this DIY project, gather the necessary supplies. You will need industrial pipes, pipe fittings, a light socket and cord, wire connectors, screws, and appropriate tools such as a pipe cutter and a screwdriver. Make sure to choose the size and length of pipes that work well with the dimensions of your kitchen island.
Measure and Cut the Pipe
Measure the desired length for your industrial pipe lights based on the dimensions of your kitchen island. Use a pipe cutter to cut the pipes to the correct lengths. Make sure to follow safety precautions when using the pipe cutter and wear appropriate protective gear. Double-check your measurements before cutting to avoid any errors.
Assemble and Install the Light
Once you have cut the pipes to the appropriate lengths, start assembling the industrial pipe lights. Attach the pipe fittings to the pipes, creating the desired shape and configuration. Connect the light socket and cord to the pipes, making sure all the wiring is secure. Use wire connectors to join the wires safely and neatly. Test the light before attaching it to the ceiling to ensure it is functioning correctly. Finally, securely install the industrial pipe lights above your kitchen island, following proper safety guidelines.
8. Basket Light Fixture
A basket light fixture is a creative and budget-friendly option to add a unique touch to your kitchen island. This DIY project will bring warmth and texture to your kitchen, creating a cozy atmosphere.
Choose a Basket Style and Size
When selecting a basket for your light fixture, consider the style and size that will work best with your kitchen island and decor. Wicker or rattan baskets can provide a rustic or bohemian look, while wire baskets can add an industrial or farmhouse vibe. Make sure the size of the basket is proportionate to the island and that it allows enough space for the light bulb and wiring.
Prepare the Basket for Wiring
Before transforming the basket into a light fixture, you’ll need to prepare it for wiring. Begin by removing any handles or unnecessary parts that may obstruct the installation process. Choose a basket with a flat bottom for stability. If the basket has an open weave, consider lining it with a fabric liner to prevent the bulb from being visible through the gaps.
Install the Light Bulb
Once the basket is ready, it’s time to install the light bulb. Depending on the basket’s design, you may need to use a pendant light kit or a socket with a cord and plug. Secure the light socket in the center of the basket, making sure it is properly attached and aligned. Thread the cord through the basket to ensure a clean and seamless look. Finally, insert the desired light bulb and test the fixture to ensure it is working correctly.
9. Edison Bulb Fixtures
Edison bulb fixtures are a popular choice for those who desire a vintage or industrial-inspired look in their kitchen. These bulbs, with their exposed filaments and warm glow, create a charming ambiance that is perfect for a cozy and inviting kitchen island.
Get Edison Bulb Pendant Lights
To incorporate Edison bulb fixtures into your kitchen island lighting, start by purchasing Edison bulb pendant lights. These ready-made fixtures are designed to highlight the beauty of these unique bulbs. Look for pendant lights that match your kitchen’s style and are suitable for the size of your island. You can find a variety of designs, from minimalist to ornate, to suit your personal taste.
Install the Lights over the Island
Installing Edison bulb pendant lights is relatively straightforward. Turn off the power to the existing island light fixture before starting the installation process. Remove the old fixture carefully and follow the manufacturer’s instructions for installing the new pendant lights. Typically, this involves connecting the wiring and securing the pendant lights to the ceiling using a mounting plate. Test the lights before securing them permanently.
Consider Dimmable Options
To add versatility and ambiance to your Edison bulb fixtures, consider opting for dimmable lights. Dimmable Edison bulb pendant lights allow you to adjust the brightness to suit different occasions and activities in your kitchen. Whether you want soft, romantic lighting for an intimate dinner or brighter illumination for cooking and food preparation, a dimmable option provides flexibility and control over the overall mood of your kitchen island.
10. LED Strip Lights
For a modern and sleek lighting solution, LED strip lights are an excellent choice. These versatile lights can be installed under your kitchen island, creating a unique and contemporary look while providing optimal task lighting.
Select the LED Strip Light Type
Before installing LED strip lights, start by selecting the appropriate type for your kitchen island. LED strip lights come in different colors, temperatures, and brightness levels. Consider the lighting ambiance you want to achieve and choose a strip light that complements your kitchen’s overall design. Additionally, ensure that the chosen LED strip light is suitable for under-cabinet or under-island installation.
Install the Lighting under the Island
Begin by planning the placement and route of the LED strip lights under your kitchen island. Measure the length of the strips needed to cover the desired area and cut them accordingly, following the manufacturer’s instructions. Clean the surface where the strip lights will adhere, ensuring it is dry and free of any debris. Peel the backing of the strip lights and carefully attach them to the underside of the island, pressing firmly to ensure proper adhesion.
Add a Dimmer for Adjustable Brightness
To enhance the functionality and versatility of your LED strip lights, consider adding a dimmer switch. Dimmable LED strip lights allow you to adjust the brightness levels, creating different moods and atmospheres in your kitchen. Installing a dimmer switch provides you with the flexibility to control the lighting according to the specific needs and activities taking place on your kitchen island. Consult a professional electrician to ensure a safe and proper installation of the dimmer switch.
With these easy island light DIYs, you can transform your kitchen into a space that exudes style, charm, and functionality. Whether you choose pendant lights, mason jar lights, rope lights, or any other option, make sure to follow the instructions carefully and prioritize safety. Have fun and enjoy the process of creating your own unique island lighting that will truly elevate your kitchen’s aesthetic appeal.
