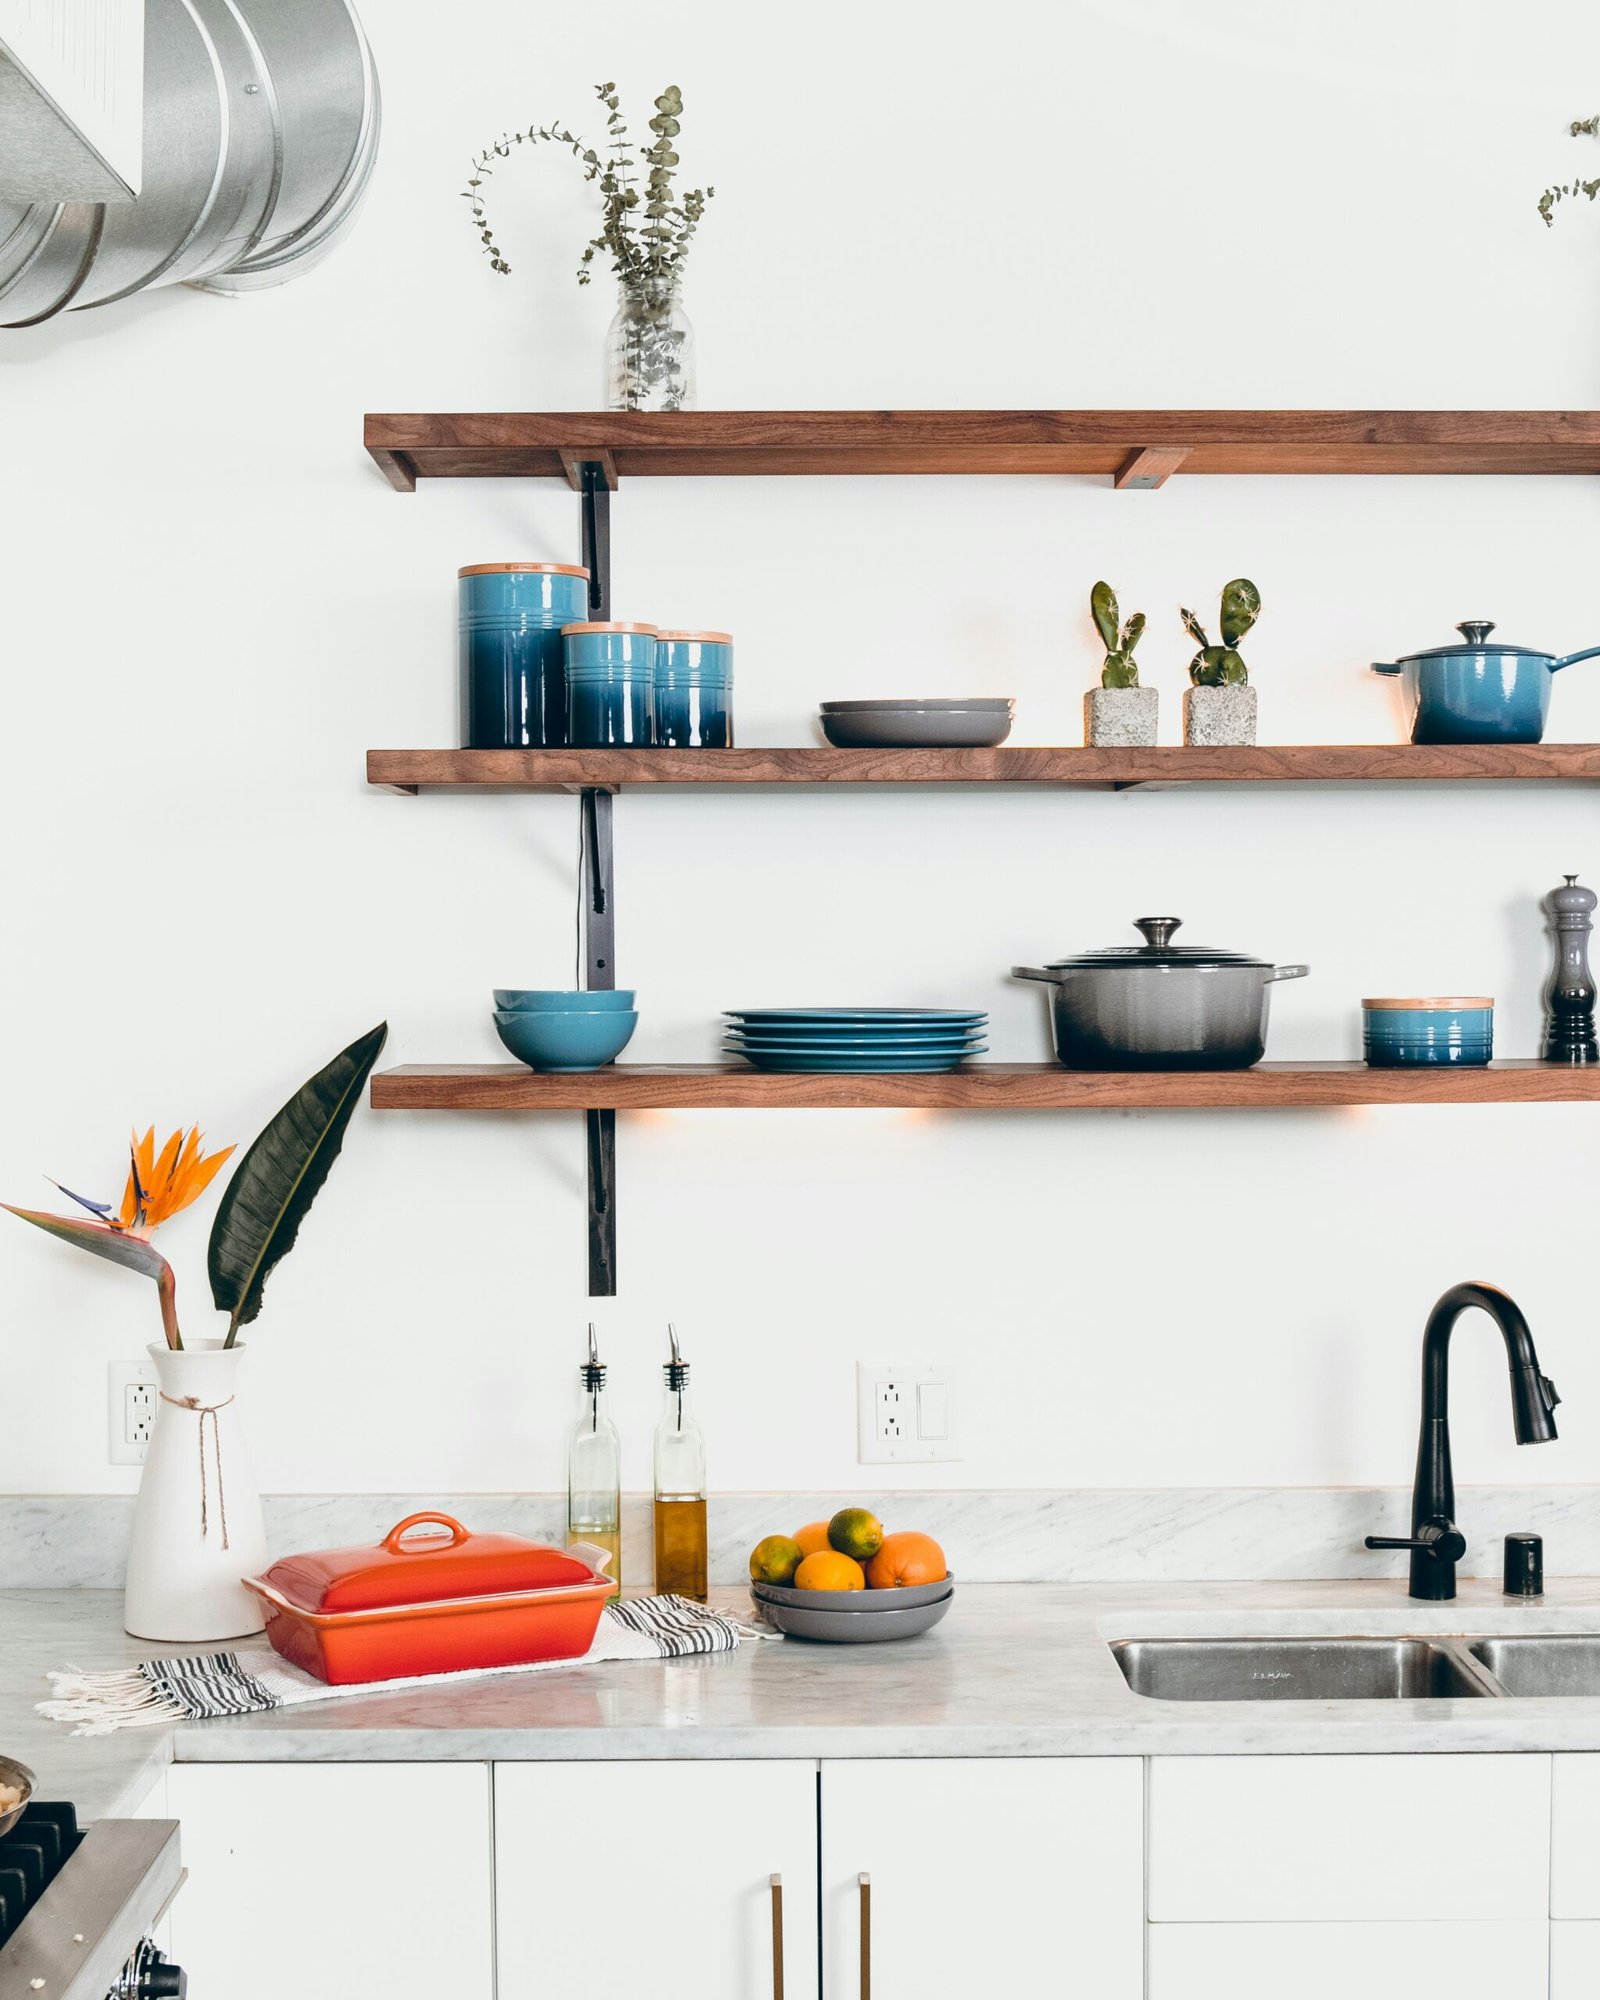
Imagine transforming your kitchen into a stylish and inviting space with just a few simple DIY projects. In this article, discover the top 8 creative DIY kitchen island lighting projects that will not only illuminate your space but also add a touch of personality and charm. From rustic farmhouse-inspired lanterns to sleek and modern pendant lights, these projects are perfect for adding that finishing touch to your kitchen island. Get ready to create a warm and welcoming atmosphere that will make your kitchen the heart of your home.

This image is property of images.unsplash.com.
Rustic Mason Jar Chandelier
If you’re looking to add a touch of rustic charm to your kitchen island, a DIY mason jar chandelier may be just what you need. With a few materials and some basic tools, you can create a stunning centerpiece that will illuminate your space in a unique and stylish way.
To start, gather your materials. You’ll need mason jars, a wooden plank, metal chains, light bulbs, and electrical wires. Depending on the size of your kitchen island, you’ll want to choose mason jars and a wooden plank that are proportionate to the space.
Once you have your materials, you can begin the construction process. First, attach the metal chains to the wooden plank. This will allow you to hang the chandelier securely above your kitchen island. Make sure the chains are securely fastened to the plank to prevent any accidents.
Next, secure the mason jars to the wooden plank using metal clamps. Place the clamps around the neck of the jars and tighten them to hold the jars in place. Be sure to evenly space the jars along the plank for a balanced look.
Now it’s time to install the light bulbs into the mason jars. Choose a type of bulb that complements the rustic aesthetic, such as Edison bulbs or vintage-style filament bulbs. Carefully insert the bulbs into the openings of the jars, making sure they are secure and properly aligned.
Lastly, connect the electrical wires and hang the chandelier above your kitchen island. Consult with a professional electrician to ensure the wiring is done correctly and safely. Once everything is in place, you can step back and enjoy the warm and inviting ambiance created by your rustic mason jar chandelier.
Vintage Wine Bottle Pendant Lights
For a touch of vintage charm in your kitchen, consider creating your own pendant lights using repurposed wine bottles. This DIY project not only adds character to your space but also allows you to give new life to old bottles that would otherwise be discarded.
To begin, gather the necessary materials: wine bottles, pendant light kits, electrical wires, and ceiling hooks. Choose wine bottles that have interesting shapes and colors to add a unique element to your pendant lights.
Start by cleaning the wine bottles and removing any labels. Soak the bottles in warm water and use a scrub brush or sponge to remove any stubborn residue. Let the bottles dry completely before continuing with the project.
Next, attach the pendant light kits to the bottleneck of each wine bottle. These kits typically include a socket and a cord that can be easily attached to the bottle. Follow the instructions provided with the kit to ensure proper installation.
Once the kits are attached, connect the electrical wires to each pendant light. It’s important to consult a professional electrician to ensure the wiring is done correctly and safely. With their expertise, you can confidently connect the wires and prepare to hang the pendant lights.
Using ceiling hooks, hang the pendant lights above your kitchen island. Adjust the height of each light to your preference, keeping in mind that the lights should be evenly spaced for a balanced look. Step back and admire the vintage charm radiating from your wine bottle pendant lights.
Industrial Pipe Sconce Lighting
If you’re going for an industrial-themed kitchen, industrial pipe sconce lighting is the perfect DIY project to bring your vision to life. With a few metal pipes, electrical wires, light sockets, and wall brackets, you can create a striking lighting feature that adds a touch of rugged elegance to your space.
To get started, measure and cut the metal pipes to your desired length. Consider the size of your kitchen island and the overall design scheme when determining the appropriate pipe length. Once you have the pipes cut, attach the light sockets to each end of the pipes. This will serve as the base for your sconce lighting.
Next, mount wall brackets to the kitchen wall. These brackets will hold the pipes and give your sconces a secure foundation. Ensure that the brackets are aligned properly and securely fastened to prevent any accidents.
Now it’s time to connect the electrical wires. It’s crucial to consult with a professional electrician when dealing with electrical work. They can guide you through the process and ensure that the wiring is done correctly and safely.
Finally, mount the industrial pipe sconces on the wall brackets. Step back and admire the industrial charm emanating from your handmade sconce lighting. With their raw and rugged aesthetic, these sconces will make a bold statement above your kitchen island.
Repurposed Colander Pendant Lights
If you’re looking for a creative and budget-friendly way to add lighting to your kitchen island, repurposing metal colanders into pendant lights is a fantastic DIY project. With just a few materials and some basic tools, you can transform these everyday kitchen items into eye-catching light fixtures.
To begin, gather the materials needed: metal colanders, pendant light kits, and electrical wires. The colanders will serve as the shades for your pendant lights, while the light kits and wires are necessary for the electrical components.
Start by drilling holes in the bottom of the metal colanders. This is where the pendant light kits will be inserted, so the size of the holes should match the diameter of the kits. Take care when drilling and wear appropriate safety gear.
Next, insert the pendant light kits through the holes in the colanders. The kits typically include a socket and a cord that can be easily attached to the colanders. Follow the instructions provided with the kit to ensure proper installation.
Once the kits are in place, connect the electrical wires to each pendant light. Consulting a professional electrician is crucial to ensure that the wiring is done correctly and safely. With their expertise, you can confidently connect the wires and prepare to hang the colander pendant lights.
Using ceiling hooks, hang the pendant lights above your kitchen island. Experiment with different arrangements to find a visually pleasing configuration. The unique shape and texture of the colanders will add a touch of whimsy and charm to your space.

This image is property of images.unsplash.com.
Upcycled Whisk Chandelier
For a truly unique and unexpected lighting feature in your kitchen, consider upcycling wire whisks into a chandelier. This DIY project allows you to repurpose a common kitchen utensil into a one-of-a-kind light fixture that will be a conversation starter in your home.
To begin, gather the necessary materials: wire whisks, light bulbs, electrical wires, and ceiling hooks. The wire whisks will serve as the fixtures for your chandelier, while the light bulbs and wires are essential for the electrical components.
Start by removing the handles from the wire whisks. This will allow the whisks to hang freely and create an interesting visual effect when illuminated. Use a pair of wire cutters or pliers to carefully remove the handles.
Next, attach light bulbs to the ends of the wire whisks. Select bulbs that fit securely and comfortably in the whisk openings. This will ensure that the bulbs stay in place and provide the desired lighting effect.
Connect the electrical wires to each whisk light. Remember to consult a professional electrician to ensure that the wiring is done correctly and safely. They can guide you through the process and provide valuable advice.
Hang the whisk chandelier from ceiling hooks above your kitchen island. Adjust the height and spacing between the whisk lights to achieve the desired look. The whimsical and unexpected nature of this upcycled chandelier will bring a touch of delight and playfulness to your space.
Modern Geometric Pendant Lights
If you’re drawn to clean lines and minimalist aesthetics, modern geometric pendant lights are the perfect DIY project for your kitchen island. With some wooden dowels, metal brackets, light bulbs, electrical wires, and ceiling hooks, you can create a sleek and stylish lighting feature that complements your contemporary space.
To get started, cut and arrange the wooden dowels into desired geometric shapes. Triangles, squares, and hexagons are popular choices for a modern look. Take into consideration the size of your kitchen island and the overall design scheme when determining the appropriate size and shape for your geometric frames.
Next, attach metal brackets to secure the wooden dowels. These brackets will provide stability and ensure that the frames hold their shape. Align the brackets with the dowels and securely fasten them using screws or other appropriate hardware.
Now it’s time to install the light bulbs into the geometric frames. Choose bulbs that emit a warm and inviting glow to create a cozy atmosphere in your kitchen. Insert the bulbs into the openings of the frames, ensuring they are secure and properly aligned.
Connect the electrical wires and hang the pendant lights from ceiling hooks above your kitchen island. Adjust the height and arrangement of the lights to achieve the desired look. The clean lines and simple elegance of these modern geometric pendant lights will enhance the overall aesthetic of your space.

This image is property of images.unsplash.com.
Industrial Cage Pendant Lights
For an edgy and industrial-inspired lighting feature in your kitchen, consider creating your own pendant lights using metal cages. This DIY project allows you to showcase your creativity while adding a touch of rugged charm to your space.
To get started, gather the necessary materials: metal cages, pendant light kits, and electrical wires. The metal cages will serve as the shades for your pendant lights, while the light kits and wires are necessary for the electrical components.
Begin by removing the bottom of the metal cages. This will create an opening for the light to shine through and illuminate your space. Use a pair of wire cutters or pliers to carefully remove the bottom of each cage.
Next, thread the pendant light kits through the cages. These kits typically include a socket and a cord that can be easily attached to the cages. Follow the instructions provided with the kit to ensure proper installation.
Once the kits are threaded through the cages, connect the electrical wires. It’s important to consult a professional electrician to ensure that the wiring is done correctly and safely. With their guidance, you can confidently connect the wires and prepare to hang the cage pendant lights.
Using ceiling hooks, hang the pendant lights above your kitchen island. Adjust the height and spacing between the lights to achieve the desired look. The industrial and rustic charm of the metal cages will add character and personality to your space.
Globe Cluster Chandelier
For a statement lighting piece in your kitchen, consider creating a globe cluster chandelier. This DIY project allows you to create a stunning centerpiece that will not only light up your space but also serve as a striking visual element.
To begin, gather your materials: glass globes, light bulbs, electrical wires, and ceiling hooks. The glass globes will serve as the shades for your chandelier, while the light bulbs and wires are necessary for the electrical components.
Start by securing the glass globes to a central base. This can be a metal ring or any other structure that can hold the globes securely in place. Arrange the globes in a visually pleasing manner, ensuring that they are evenly spaced and aesthetically balanced.
Install the light bulbs into each globe. Choose bulbs that emit a warm and inviting glow to create a cozy ambiance in your kitchen. Insert the bulbs into the openings of the globes, ensuring they are secure and properly aligned.
Next, connect the electrical wires and hang the cluster chandelier from ceiling hooks. Adjust the height and arrangement of the globes to achieve the desired look. The elegant and captivating nature of the globe cluster chandelier will add a touch of sophistication and glamour to your kitchen.
Industrial Pulley Pendant Lights
If you’re looking to add an industrial touch to your kitchen island lighting, industrial pulley pendant lights are a fantastic DIY project. With a few materials and some creative know-how, you can create a unique and functional lighting feature that will make a statement in your space.
To start, gather the necessary materials: metal pulleys, electrical wires, light sockets, and ceiling hooks. The metal pulleys will serve as the focal point of your pendant lights, while the wires and sockets are necessary for the electrical components.
Mount ceiling hooks above your kitchen island where you want the pendant lights to hang. Make sure the hooks are securely fastened to the ceiling to ensure the lights’ safety.
Attach the metal pulleys to the ceiling hooks. The pulleys should be mounted at the desired height and distance from each other. Take into consideration the size of your kitchen island and the overall design of your space when determining the placement of the pulleys.
Next, connect the electrical wires and light sockets to the metal pulleys. It’s important to consult with a professional electrician to ensure that the wiring is done correctly and safely. With their expertise, you can confidently connect the wires and sockets, ensuring that the pendant lights function properly.
Once the electrical components are in place, adjust the height and position of the pendant lights using the pulleys. This allows you to customize the lighting to suit your needs and preferences. Step back and appreciate the industrial charm and functionality of your handmade pulley pendant lights.
DIY Macrame Pendant Lights
For a bohemian-inspired touch in your kitchen, consider creating your own macrame pendant lights. This DIY project allows you to showcase your creativity and add a unique and eye-catching element to your space.
To begin, gather the necessary materials: macrame cord, pendant light kits, and electrical wires. The macrame cord will serve as the base for your pendant lights, while the light kits and wires are necessary for the electrical components.
Start by creating macrame patterns or designs using the cord. There are countless tutorials and resources available online to help guide you through the process. Get creative and experiment with different knots and weaving techniques to achieve the desired look.
Attach the pendant light kits to the macrame designs. These kits typically include a socket and a cord that can be easily attached to the macrame cord. Follow the instructions provided with the kit to ensure proper installation.
Next, connect the electrical wires and hang the macrame pendant lights above your kitchen island. Adjust the height and arrangement of the lights to achieve the desired look. The intricate and delicate nature of the macrame designs will add a bohemian and artisanal touch to your space.
In conclusion, DIY kitchen island lighting projects offer the perfect opportunity to showcase your creativity and personalize your space. From rustic mason jar chandeliers to bohemian macrame pendant lights, there’s a style to suit every design preference. With a few materials and some handy tools, you can create stunning lighting features that will illuminate and enhance your kitchen island area. So roll up your sleeves, gather your materials, and get ready to transform your kitchen into a space that’s as beautiful as it is functional.