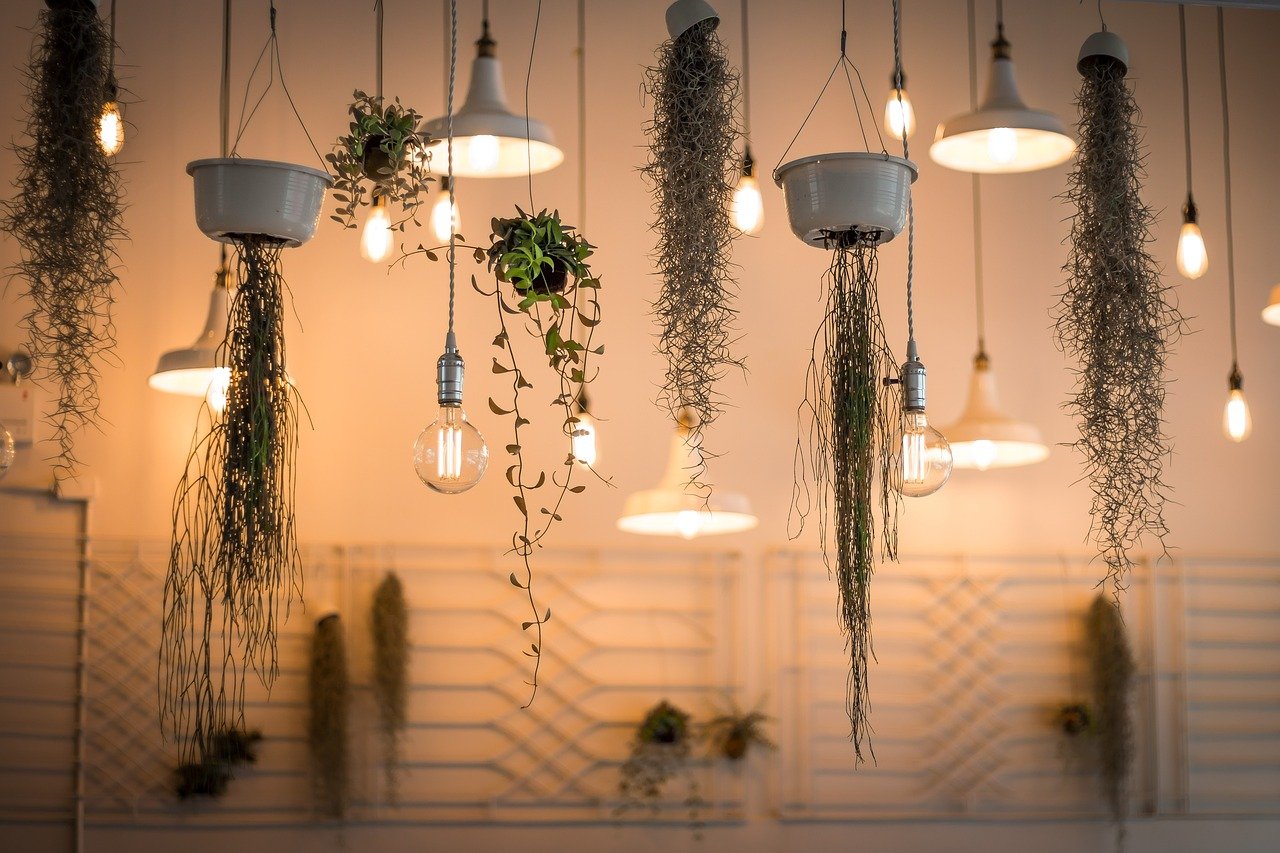
Welcome to the ultimate guide on quick and convenient island light installation! In this article, you will learn how to easily install island lights in your home without the hassle. Whether you’re looking to brighten up your kitchen, dining area, or any other space, we’ve got you covered with step-by-step instructions and helpful tips to make the process a breeze. Get ready to illuminate your space in style with our efficient and stress-free installation techniques. Let’s get started! Have you been considering adding island lights to your kitchen but are intimidated by the thought of installation? Don’t worry! In this article, we will walk you through the process of quick and convenient island light installation. With the right tools and step-by-step instructions, you’ll have stylish and functional island lights in no time.
Getting Started
When it comes to updating your kitchen with island lights, the first step is to gather all the necessary tools and materials. Before you begin the installation process, make sure you have the following items on hand:
- Island light fixture
- Screwdriver
- Wire cutters
- Electrical tape
- Wire nuts
- Drill and bits
- Ladder or step stool
- Voltage tester
Let’s Talk Safety
Safety is a top priority when working with electricity. Before you start the installation process, be sure to shut off the power to the area where you will be working. Use a voltage tester to double-check that the power is off before you begin handling any wires. It’s also a good idea to wear safety goggles and gloves to protect yourself from any potential hazards.
Installing the Light Fixture
Now that you have gathered your tools and ensured safety measures are in place, it’s time to install the island light fixture. Follow these step-by-step instructions for a quick and convenient installation process:
Step 1: Remove the Old Fixture
If you are replacing an existing light fixture with a new island light, the first step is to remove the old fixture. Start by turning off the power to the existing fixture at the circuit breaker. Use a screwdriver to remove the screws holding the old fixture in place, and carefully detach the wires from the ceiling.
Step 2: Mount the Bracket
Next, install the mounting bracket that came with your island light fixture. Use a drill and appropriate bits to secure the bracket to the ceiling according to the manufacturer’s instructions. Make sure the bracket is level before moving on to the next step.
Step 3: Connect the Wires
Carefully follow the manufacturer’s instructions to connect the wires of the island light fixture to the existing electrical wiring in your ceiling. Typically, you will need to match the color of the wires (black to black, white to white, etc.) and secure them with wire nuts. Use electrical tape to cover any exposed wire connections for added safety.
Step 4: Attach the Fixture
Once the wires are connected, carefully lift the island light fixture and line up the screw holes with the mounting bracket. Secure the fixture in place using the screws provided, making sure it is level and securely attached to the ceiling.
Step 5: Install the Bulbs
Finally, install the bulbs that came with your island light fixture. Make sure they are securely screwed in and that the wattage of the bulbs does not exceed the fixture’s maximum wattage capacity. Turn on the power at the circuit breaker and test the light to ensure it is working properly.

This image is property of pixabay.com.
Troubleshooting Tips
Sometimes, even with careful installation, issues may arise with your island light fixture. Here are some common troubleshooting tips to help address these problems quickly and efficiently:
Problem: Light Flickering
If your island light fixture is flickering, check the bulbs to ensure they are securely screwed in and not loose. If the problem persists, it may be due to a loose wire connection. Turn off the power at the circuit breaker and carefully inspect the wires, tightening any loose connections using wire nuts.
Problem: Uneven Light Distribution
If you notice that your island light fixture is not providing even light distribution, adjust the position of the fixture on the mounting bracket. Ensure that the fixture is centered over the island and adjust the height if necessary to achieve optimal lighting throughout the space.
Problem: Fixture Hanging Crooked
If your island light fixture appears to be hanging crooked or uneven, check the mounting bracket to ensure it is securely attached to the ceiling. Use a level to adjust the bracket if needed, and make sure the fixture is properly aligned before tightening the screws.
Maintenance and Care
Now that your island light fixture is installed and functioning properly, it’s important to take steps to ensure its longevity and performance. Follow these maintenance and care tips to keep your island lights looking and working their best:
Clean Regularly
Dust and debris can accumulate on your island light fixture over time, causing it to appear dull or reduce its light output. To prevent this, regularly dust the fixture with a soft, dry cloth or use a gentle glass cleaner to remove any buildup.
Check for Loose Screws
Periodically check the screws that secure your island light fixture to the mounting bracket to ensure they are tight and secure. Loose screws can cause the fixture to hang crooked or become unstable, potentially leading to safety hazards.
Replace Bulbs as Needed
As bulbs age, their light output can diminish, affecting the overall brightness of your island light fixture. Keep an eye on the quality and intensity of the light, and replace bulbs as needed to maintain optimal lighting performance.
Inspect Wiring
Every few months, inspect the wiring of your island light fixture to check for any signs of wear or damage. Loose connections or frayed wires can pose a safety risk and should be addressed promptly by a qualified electrician.

This image is property of pixabay.com.
Conclusion
Congratulations! You have successfully completed the installation of your island light fixture. By following the step-by-step instructions provided in this article, you have transformed your kitchen with stylish and functional lighting. Remember to prioritize safety, follow manufacturer’s instructions, and perform regular maintenance to ensure your island lights continue to enhance your space for years to come. Enjoy your newly illuminated kitchen!
